Diy Copper Pipe Arbor

Pin On Plumbing In Disguise

Our Wedding Diy Wedding Backdrop Diy Wedding Arch Wedding Arch

Floral Arches With Images Wedding Arch Flowers Wedding Arches
Pin On Wedding Inspiration

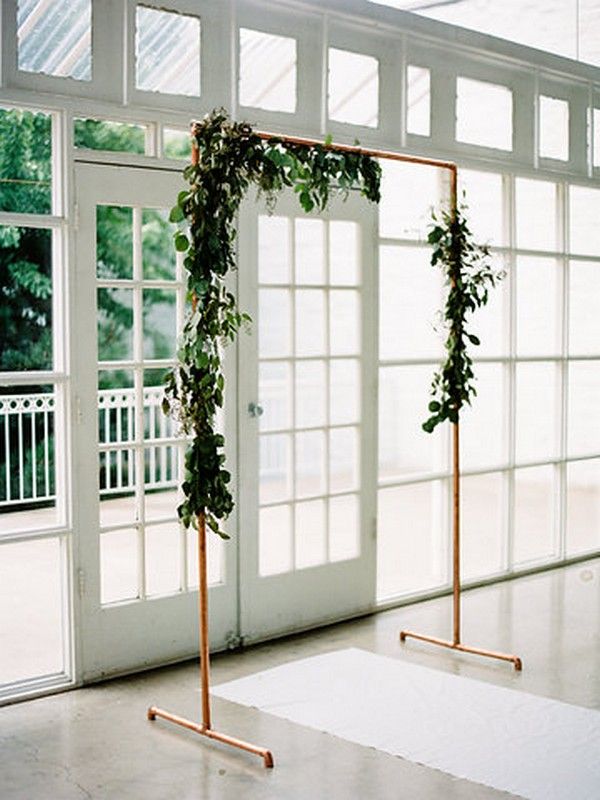
Minimalist Wedding Copper Wedding Arch Arbor Greenery Wedding

Pin On Copper Wedding Arches
Attach a copper elbow to one end of each of the 18 inch top pieces.
Diy copper pipe arbor. Copper pipe in the form of a grid on the other hand was a better fit for our aesthetic. Remove the bottom pipes beginning. Sketch out your plan before building. How to build a copper wedding arbor sketch design.
When the copper is hot enough touch the solder to that joint. Use a torch to heat the fitting. An arbor creates a dramatic entrance to garden and there are a wide variety of garden arbors available in many styles and materials. Once at the site attach the top 5 crossbars using.
It s easiest to assemble the cut pieces on the floor. Use a pipe cutter to cut piping to size. Using copper pipe to make a metal trellis. Attach one 24 inch piece to a 20 inch piece using a t connector.
Gather 4 of the 10 pipe lengths and 8 copper tees. Most copper trellis diys that we ve seen are soldered together yes requiring a torch. Move the pipe arbor frame so that the 10 feet long legs. Not inclined to invest in extra equipment we instead connected our copper pipes with stainless steel fasteners.
Jul 20 2014 explore jchafets s board copper arbor on pinterest. Use a flat surface so that the tees are lined up on each side. T shaped and elbowshaped copper fittings make it easy to assemble the arbor. Clean and flux the pipes then put them together like tinkertoys.
See more ideas about garden trellis trellis and garden structures. Adjust the top of the arbor so that it is parallel to the ground. Dig 2 foot deep 12 inch diameter post holes at the points marked by each stake using a post hole digger or a power auger. Use wooden stakes to mark the four corners of an 8 foot square on the ground where you want your arbor.
From simple wooden structures to elaborate wrought iron and gated entrances there is a garden trellis to suit nearly every situation and budget. Lay the leg pieces on the ground. Squeeze glue to the inside of the tees and insert pipe.

Pin On Diy

Pin On Urban Loft Ceremonies

How To Make Your Wisteria Arbor Grow Wisteria Arbor Garden

Copper Trellis I Could Do Something Similar Diy Garden

The Upcycled Garden Volume 3 Using Recycled Salvaged Materials In

How To Make Your Wisteria Arbor Grow Garden Vines Garden

Another Copper Tubing Garden Project Garden Arches Metal Garden

Modern Wedding Arch Wedding Party Ideas 100 Layer Cake With

How To Build A Copper Trellis For Your Garden Diy Garden

Copper Arbor With Images Copper Wedding Backdrops

Wedding Altars Make An Incredible Statement See The Ones We Would

Copper Tube Arbor Nc Arboretum With Images Diy Garden Projects

Diy Copper Trellis Tutorial Garden Trellis Diy Garden Trellis

Pin On Fences Gates Walls Trellises Arbors And Pergolas
